GitHub Actions Self-Hosted Runner: Building Faster CI with Your Own Hardware
estimated read time: 4 minutes
Continuous Integration for K3s
Where It All Started
The journey starts with this blog. I've known for a while that I wanted to maintain one, but I also knew I'd likely get distracted by the technology around it. The engineer in me is like a young child—easily distracted by something shinier, prettier, and ever more complex, rarely completing an idea to fruition.
How Much Effort?
It's tempting to say this is far too much effort for a local deployment. I could simply deploy via kubectl apply and avoid the hassle of managing pipelines and runners. If I'd known how much effort this would take, I might have agreed.
The Rig
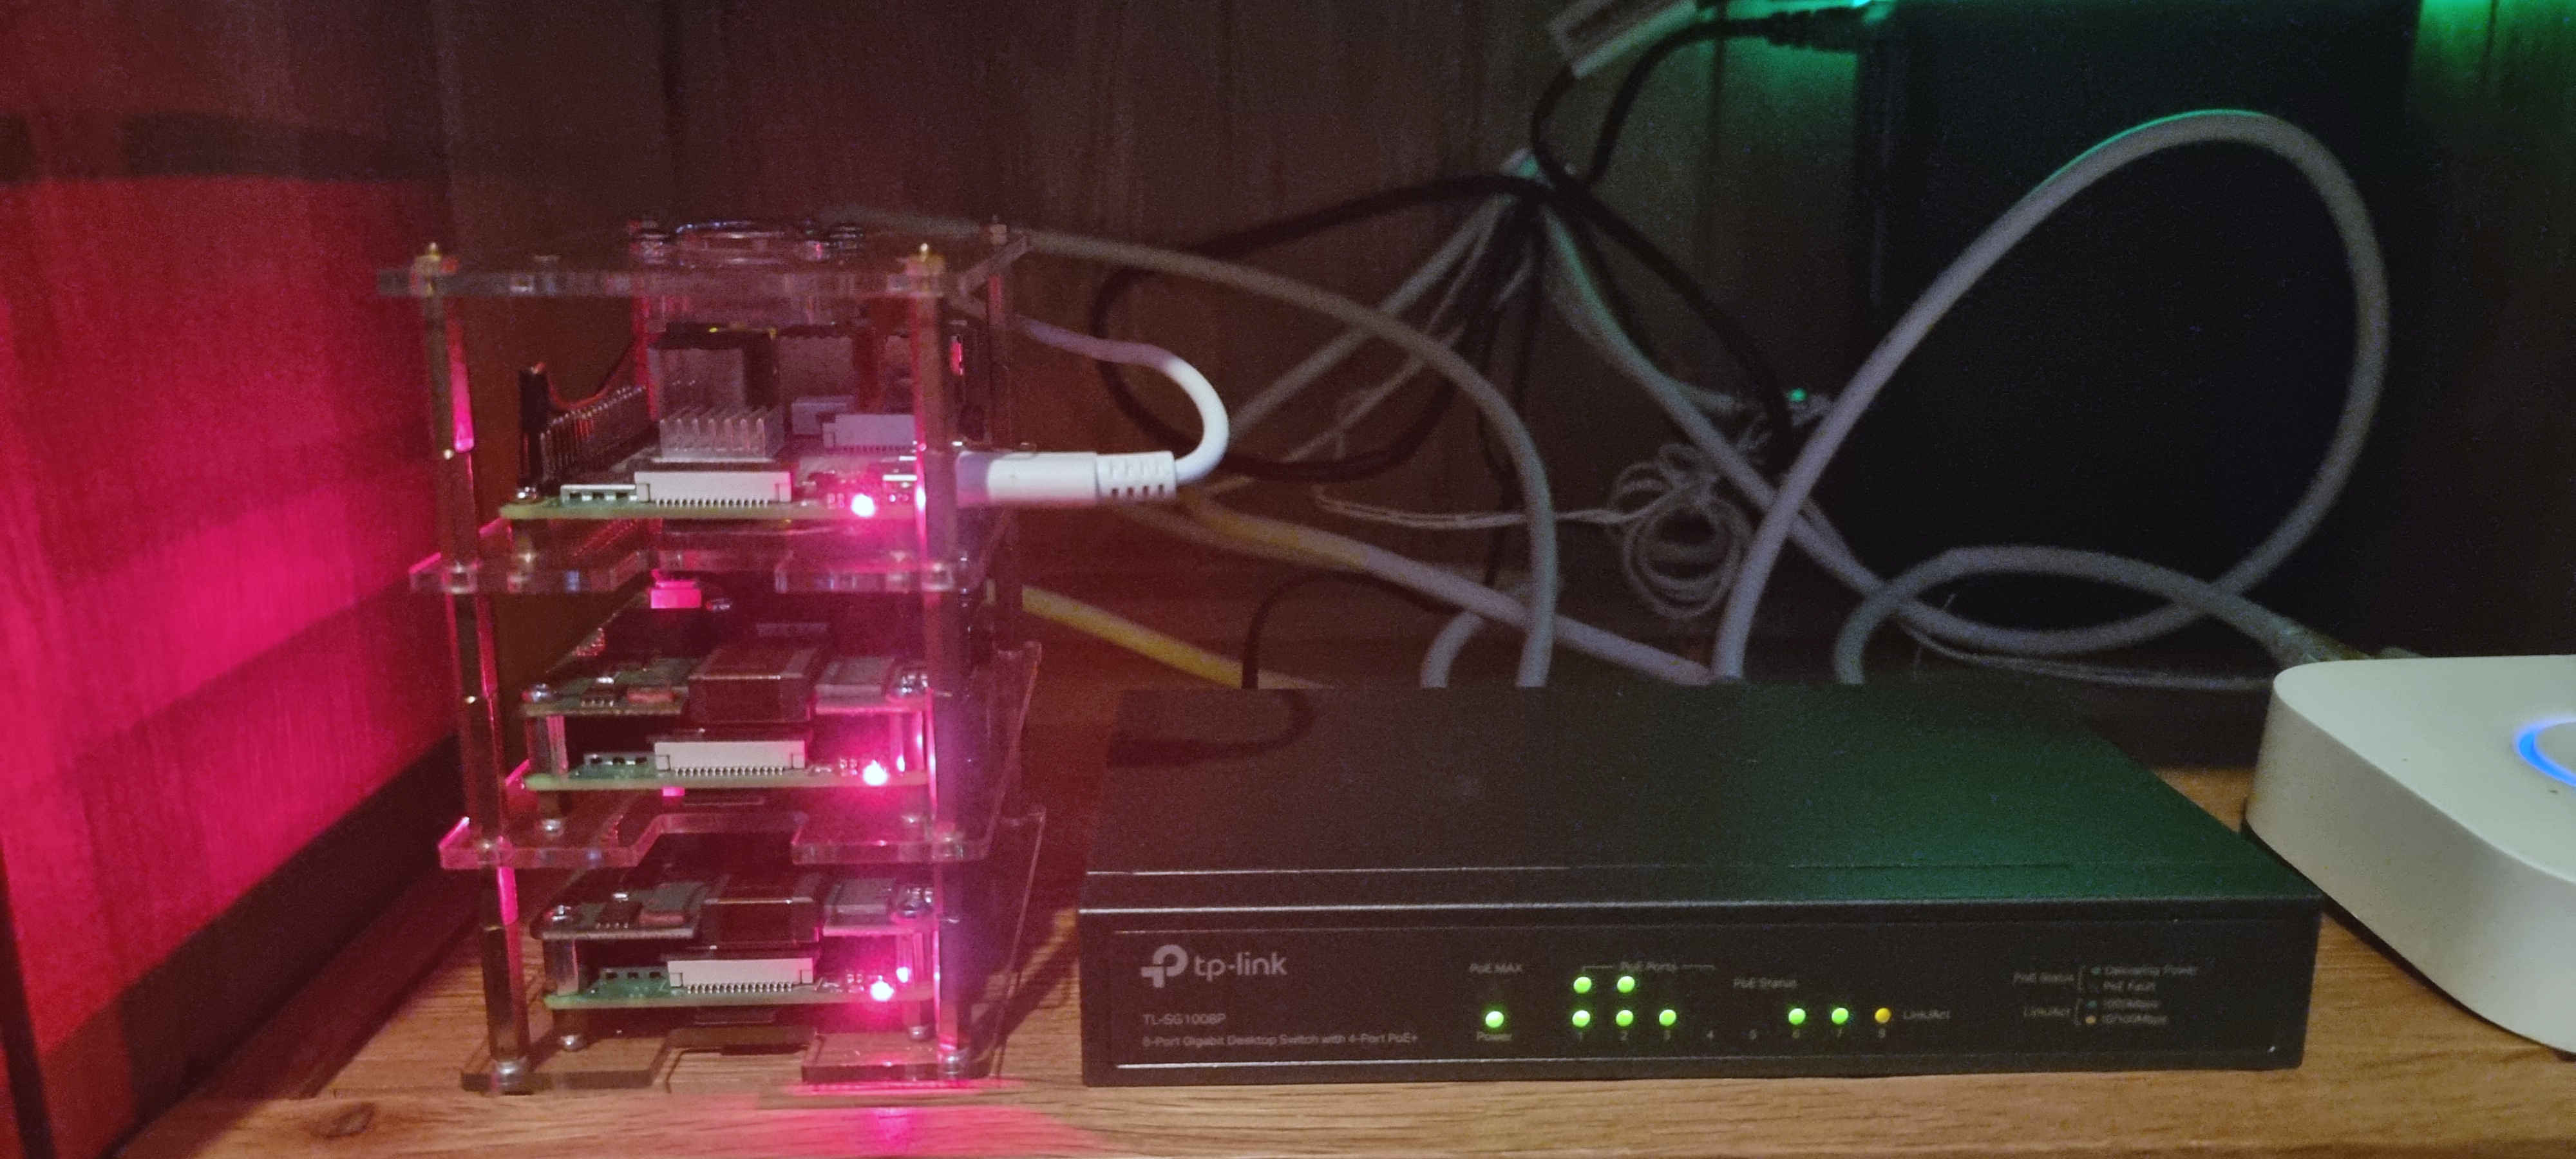
This article isn't about building a distributed Pi cluster—I'll link to that article when I get around to writing it. That said, seeing the rig all lit up like Blackpool is worth sharing.
Back to the matter at hand: deploying to a local Kubernetes cluster via GitHub Actions. As you might have guessed from the title, I've chosen GitHub Actions. This largely comes down to having used GitHub for years. Professionally, I use Jenkins and other full-featured CI/CD platforms, but I've also experienced hosting my own CI infrastructure. Although I have a tendency to add rather than remove infrastructure, there were good reasons not to go down that route:
- It would create yet another subproject, when the original goal was simply a Pi-hole/homelab platform.
- I'd already done it in the past.
One element of GitHub Actions that caught my attention is the ability to use local runners—ideal when security is a consideration and you don't want to expose your deployment API to the internet. Some might be troubled by what is essentially a reverse shell sitting behind the firewall, but I was confident that the private restrictions on these repositories were sufficient to proceed.
How Does It Hang Together?
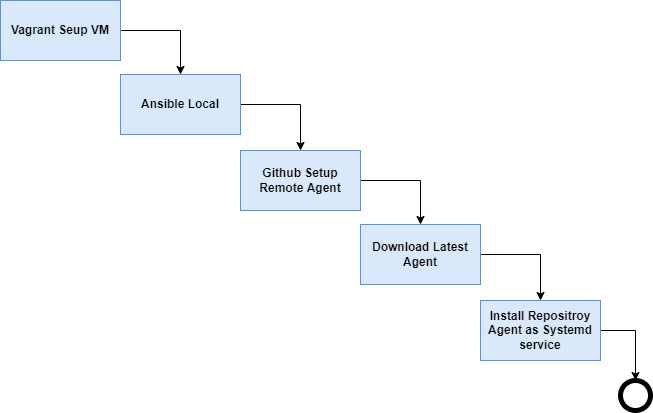
There are some caveats to my design. There's a fair amount of repeated function calls in Ansible, the Vagrant file focuses on one of the least popular hypervisors for home labs, and all the secrets are encrypted with ansible-vault—so without the password file, you'd need to replace them. If you're interested in using it, you can find it here.
To keep this article brief, if you're interested in copying this design, you'll first need to fork or clone the repository above. Then make the following changes:
1. Create a Password File
Create a file to store your password. The .gitignore is already configured for vault_password. Enter whatever password you like—make it as random as you wish. You'll probably never touch this file again.
2. Update GitHubBuildAgent.yml
You'll need to change the github_access_token property.
First, obtain a GitHub token that can be used to pull down the source code. You can create a Personal Access Token (PAT) by following this guide.
If you don't have Ansible installed, configure it using the following:
# On WSL, Linux, or macOS
apt install -y python3-venv || brew install python3 || yum install -y python3
python -m venv .
source ./bin/activate
pip install ansible
Then encrypt your GitHub PAT:
ansible-vault encrypt_string <PAT_TOKEN> --vault-password-file vault_password
This will generate an encrypted string like:
Encryption successful
!vault |
          $ANSIBLE_VAULT;1.1;AES256
          35393432353732316432333762346634376239643366383935323130623731396536356631393739
          3335646462343363373265656436653539336136363063620a356236343065313261386361353932
          61303265636535663062383533646433643635663365636432623962343430323436633165653363
          3366653930343063330a323536633834623530386635303062663630613437303333346234323032
          62346466326633383230326537663034383065373336333036653962346465636162
Use this value to replace github_access_token.
3. Replace the Kube Config
Replace the .kube directory in provision/buildAgent/files with your own configuration, so the VM has the proper credentials for helm and kubectl commands. This assumes you've already set up your cluster config. See this article if you need help.
Encrypt the directory:
ansible-vault encrypt ./provision/buildAgent/files/.kube/* --vault-password-file vault_password
4. Configure Runtime Agents
Due to how agents work on non-enterprise GitHub accounts, you'll need to create a runtime agent for each repository that requires a remote runner.
There are some examples in the source code under /provision/buildAgent/tasks/**-action.yaml. Copy the file and rename it appropriately for your repository.
5. Update Core Values
In GitHubBuildAgent.yml, update:
github_owner: "yourUserTag"
github_runtime_user: "default_user_of_your_hypervisor"
6. Run Vagrant
Once configured, the moment of truth:
vagrant up
Related Articles
Blocking AI Scrapers: Protecting Your Content from Unauthorised Training Data
68% of my blog traffic this week was AI scrapers harvesting content for training data. Here's how I'm blocking OpenAI, Anthropic, Meta, and other AI crawlers — and why you should too.
Automating Cloudflare DNS Updates from a Kubernetes CronJob
When my ISP started rotating my residential IP weekly, I stopped updating Cloudflare manually and built a Kubernetes CronJob that does it automatically every 15 minutes.
k3s HA on Raspberry Pi: Zero-Downtime Cluster in 45 Minutes (Multi-Master + MySQL)
Stop single-point failures. Build a production-grade k3s cluster with 3 master nodes, external MySQL, and load balancing—all on budget Pi hardware. Step-by-step guide with troubleshooting.
Setting Up Loki on K3s for Centralised Log Aggregation
How to install Loki on K3s using Helm and connect it to Grafana for centralised log aggregation — including the X-Scope-OrgID gotcha that catches most people out.